
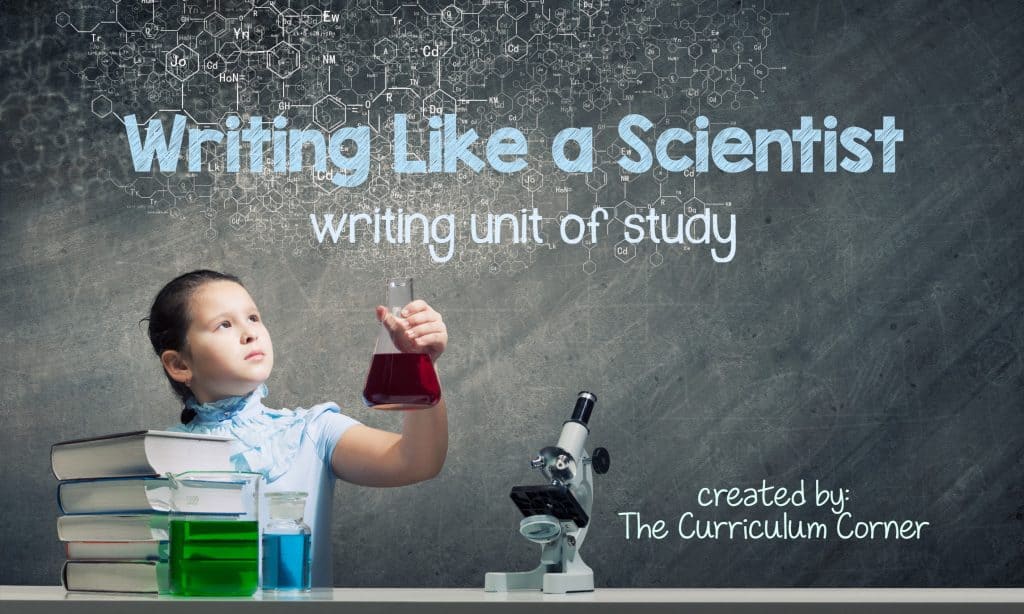
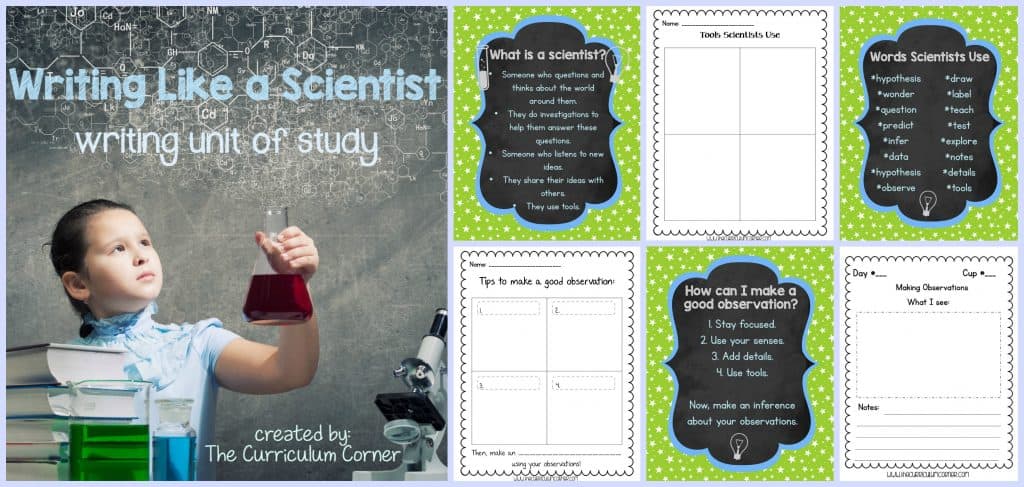
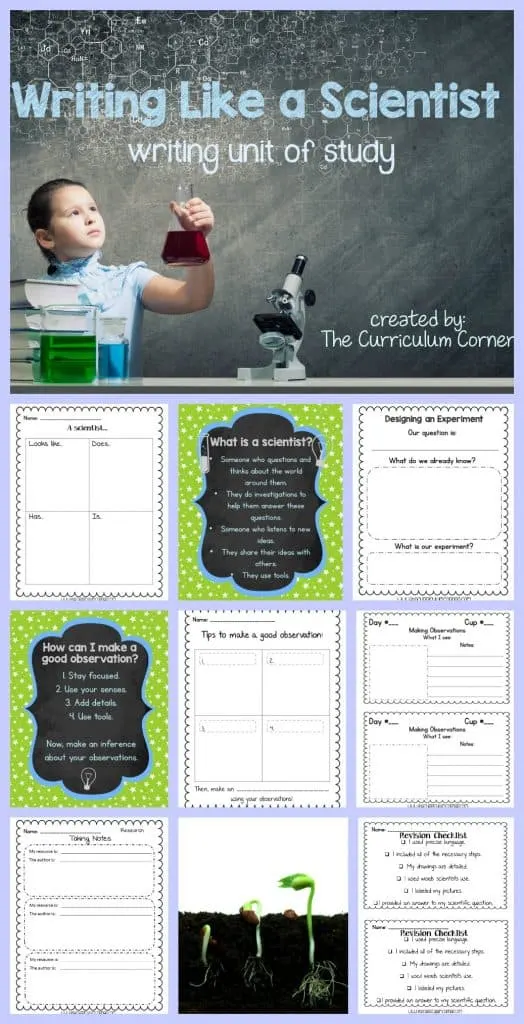
This Writing Like a Scientist unit of study is geared towards primary classrooms. It includes mini-lessons, experiment ideas, anchor charts, observation pages, blank books and more.
 Since informational text has become more of a focus in classrooms, we want our students to have several opportunities to write and be exposed to different types of nonfiction writing.
One way to show them a different kind of informational text writing is to teach this cross-curricular unit in your writing workshop. (We realize many also teach this type of writing during a science block, so this is just something a little different.)
This unit weaves science into your existing writer’s workshop which can be more engaging and high interest for your students.
***You will find the link to entire PDF download in bold blue words at the bottom of the lesson descriptions.***
Lesson 1: What is a Scientist?
- Depending upon the age of your students, you might first want to discuss what a scientist is and does before teaching them how to write like one.
- Have your students work in groups to fill out the graphic organizer “A scientist…” and then gather them to talk about their thinking.
- You might also want to dispel stereotypes of scientists after the discussion by showing students online pictures of different types of scientists who don’t necessarily wear lab coats as part of their daily practice.
- We have also created an anchor chart that you can use to help guide your discussion and/or for display during your lesson.

Lesson 2: Tools Scientists Use
- For this lesson you will need to gather various scientific “tools” such as: beakers, test tubes, magnifying glasses, microscopes, thermometers, telescopes, measuring devices, etc).
- You might want to use note cards or Post-its to label each tool during a discussion with the class about what they are.
- If you want to extend this activity you can use the graphic organizer “Tools Scientists Use” to have students draw pictures and label scientific tools
- Another option is you could print the pages for the mini-book provided which has a place for students to describe how the tool would be used in experiments.
Lesson 3: Scientists Ask Questions
- We want our students to understand that science stems from questions we have about our world and a scientist’s job is to investigate those questions and learn from them.
- Gather students and ask them what they wonder about the world around them. Guide them to present their “wonderings” as questions about the world. (Ex: Why do volcanoes erupt? What are clouds made of?)
- Record their questions on a piece of butcher paper. For the purpose of modeling scientific writing for your students, we have chosen plants as the topic for this writing unit. That said, to follow the sequence of the lessons presented here, you will want to make sure the question “How does a plant grow?” is on your chart. (Perhaps you pose that questions and add it to the list yourself.)
- Once students have been shown, through modeling, how a scientist writes, then they may decide to take a question from this list to investigate and write about during independent writing.
- We have provided a graphic organizer that encourages students to narrow down their possible questions in case you decide to have your students all investigate different topics independently or in groups.
Lesson 4: What is an Observation?
- To write like a scientists students will need to be good observers, as scientists are.
- Start by discussing the anchor chart “How can I make a good observation?” Discuss each aspect and then discuss what an inference is & how to make an inference based on observations. You might want to think of a concrete example to illustrate how an inference can be made after making observations. (For example – you could same amounts of water on a table in different spots, then place different types of paper on top of the water – tissue, paper towel, construction paper, copy paper, newspaper, etc).
- Have students watch what happens as each paper is laid on the water and make a list of observations for each one. Next, guide them to make inferences about the papers and how they soak up the water.)
- If you don’t want to actually set up the experiment, you could find examples online and have students develop inferences about the pictures & information you share. We have also created a graphic organizer called “Tips to Make a Good Observation” as an extension to add to science notebooks.
- You could fill in this organizer as a class or have groups work on it. (For example – for “stay focused” the tips might include – talk only about the topic, only write relevant words, don’t let things distract you from using your senses, be patient, etc)
Lesson 5: Design an Experiment to Answer Your Question
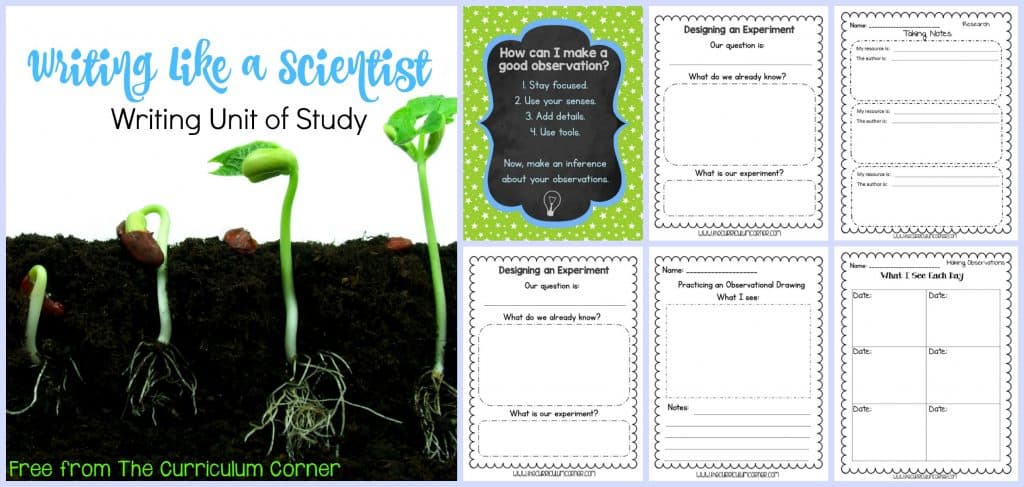
- Model the Graphic organizer “Designing an Experiment”.
- The question is listed at the top followed by a “What do we know already know?” With the class brainstorm what they know about how a plant grows and record their answers in the box.
- Discuss how what they know can lead them to how they want to answer their question through some type of experiment. Depending upon your particular resources think through what is feasible for you and your classroom to answer the question “How does a plant grow?”
- The obvious choice would be to study and plant seeds and then record observations as the plant is actually growing in your classroom. If that isn’t an option, you will want to think about online videos and resources, or you may want to completely choose a different topic for your class.
- We have provided seven pages so that you can decide what works the best for you, your students, your resources and your set-up. Some of the resources have students breaking down the experiment into specific written steps, but another is more general.
- The thing to remember is that, whatever you choose, these should be modeled for the class (using the plant experiment suggested below or something similar) so that students understand expectations if they decide to write like a scientist on their own during independent writing (or if you will require them to).

Experiment Suggestion:
- Split your class into groups of three or four. With your direction, each group would then plant ten (your choice) beans/seeds in different cups on the same day to create a series of growing plants that they will observe.
- Have groups number their cups one to ten. Be sure that groups water the beans/seeds and keep them in sunlight in the exact same way throughout the duration of the experiment.
- After a few days, have each group dig up the seed within the cup marked #1 and make observations. (You will need to do some research on the beans/seeds you use so that you know how long they will take to germinate and begin to grow.)
- On a later day they will dig up the seed within the cup marked #2 and make more observations.
- We have included several options for you to choose from for your students to record their observations. Some are simply pages with boxes that require students to write the date and draw what they see and others can be stapled together to create a book showing the progression of the observations.
- Whatever you choose, again, be sure to model your expectations. (These pages will be used in the lesson below.)

 Lesson 6: How to Set up the Experiment
- Model the graphic organizers of your choice by thinking through the steps you are going to take in your classroom for the plant experiment.
- We have provided seven pages for you to choose from.
- Be sure to explain to students the importance of using exact measurements and keeping variables the same (water, soil, sunlight, etc).
- Again, modeling is the key to help students begin to understand how to do this on their own.
Lesson 7: Making an Observational Drawing
- You may want to teach your students how to make observational drawing to use in their scientific writing. They will need to learn to focus on small details and changes in their experiment.
- One idea for teaching students about detail observational drawings is to use the beans/seeds your kids will be using for their experiment.
- A few days before this lesson place one of your beans/seeds in water to soak. This will speed up the germination process and allow you to show students how to create observational drawings. “Practicing an observational drawing” is the page you can use to teach students that they don’t need to be artists to make these drawings, but they do need to focus on details.
- If you have a document camera so that you can display the seed in front of the entire class that would be particularly effective for this lesson. If not, you may just need to pass the seed around in some way so that everyone can look at it.
- Model how to draw the seed with as much detail as possible.
- Next, find a picture of the parts of a sprouting seed online or in a book and show students. With that as a guide, label the parts of the seed that you and your class see.
- Discuss the importance of details in scientific observational drawings. (You might want to use digital pictures as well as the actual seed in each step of the way. We feel that both are important in different ways.)
Lesson 8: Gathering Research/Taking Notes
- Research is also an important part of a scientist’s work. Let students know that their experiment will provide them with the hands-on experience they will need to understand real results in a real setting, but learning about the topic is also important.
- Model for your students how to read relevant books and texts to gain knowledge and take notes on what they learn along the way. It will provide additional important information as they move through their experiment and serve as background knowledge to some extent.
- We have provided three simple styles of graphic organizers you can share with your students as they gather research. Choose what works best for your students and their level.
- Keep in mind that you may have some students who are ready for finding information in various texts as opposed to just one, so you could also model different graphic organizer for different small guided writing groups instead of conducting a mini-lesson for the entire class.
Lesson 9: Words Scientists Use
- There may be words your students are not familiar with as you move through your writing unit, or perhaps words they have heard of but don’t necessarily understand.
- If you choose to do this lesson, have your class brainstorm words they may use while they are thinking scientifically.
- This can certainly be an open-ended lesson, so we have provided a blank anchor chart. Or you could introduce the anchor chart we created and discuss the words that appear there.
- A black & white version of that chart has also been provided if you would like for them to put it in their science or writing notebooks to refer to as they write.
Lesson 10: Making Ongoing Observations
- So that your students can understand that scientists may need to make ongoing and consistent observations for an experiment that spans a period of time, we have provided five options for you to model as they conduct their plant experiment.
- Each day as they dig up their seeds, their drawings and explanations should reflect the changes they see occurring with their beans/seeds.
- One of the options is actually a mini-book that they can staple together once the experiment is finished so that the progress of the experiment can be shared in that way.
Lesson 11: Showing What I Have Learned as a Scientist
- The next sixteen pages provided offer you a way for your students to explain their thinking, the steps in the experiment and the learning in various ways.
- Choose the pages that you would like for your students to use to show what they have learned.
- For modeling purposes, choose those pages and fill them out for the class plant experiment, using input and learning from the students in a shared writing experience.
Lesson 12: Revising My Scientific Writing
- As in most other writing, you will want your students to read their own writing and revise it to make it more clear to their readers.
- We have provided a simple revision checklist that you can have your students use before they share their scientific writing with others.
Lesson 13: Writing Celebration
- As always, though it may be something you choose not to do, we believe that some type of writing celebration should take place at the end of the learning.
- If students have actually attempted their own scientific writing, you can invite special adults or students in the building to come celebrate by reading the scientific writing with students.
- If you will not be requiring your students to try out this type of writing, you might just want to think about passing out certificates to celebrate the learning or perhaps even having your students share what they have learned about writing like a scientist.
- Having some light snacks and a fun atmosphere for learning celebrations tends to be extremely engaging for young writers!
Here is the link to PDF for the all the resources you can use for the lesson descriptions above:
Writing Like a Scientist
For additional resources that would fit this particular unit involving plants, take a look at our interactive science notebook pages. It also includes an idea for a fun treat you could make and serve at your writing celebration!!
You will find the link here: Flowers: Interactive Notebook Pages
Here are some of our favorite books to provide for our students while studying plants:
(contains affiliate links)
Gardening Literacy Set - The Curriculum Corner 123
Sunday 24th of February 2019
[…] Writing Like a Scientist Unit of Study […]
Planning a Dynamic Writing Workshop - The Curriculum Corner 123
Sunday 24th of June 2018
[…] Writing Like a Scientist […]
Introducing the Scientific Method - The Curriculum Corner 123
Friday 6th of April 2018
[…] You might also be interested in our Writing Like a Scientist Unit of Study […]
Editable Writing Management Binder - The Curriculum Corner 123
Friday 3rd of March 2017
[…] Writing Like a Scientist Unit of Study […]
FunNLearn
Wednesday 7th of December 2016
Thanks for sharing this stuff with us!
Amy Hawkins
Friday 3rd of July 2020
In the age of TPT it is so wonderful to have all of these amazing units, and resources at our fingertips and you are not trying to make a quick buck off of teacher's backs. I don't have a problem with someone coming up with their own curriculum and wanting to be paid for it. However, I do have a problem with someone making "I Can" statements cute and then charging me for them bc they know how to use clip art. I find all kinds of resources from the Sisters on TPT that I know the teachers charging did not make up and yet they are still charging money for it because of the clip art they have added. Anyway, it is so nice to come to a place that I can trust and find quality resources for my classroom and not have to spend $55 for them. Teachers have gotten really greedy and who can blame them when we get paid so little in comparison to others who have had the same amount of schooling? Thank you ladies so much!!!