This free lesson and anchor chart will help you introduce the scientific method in your primary classroom.

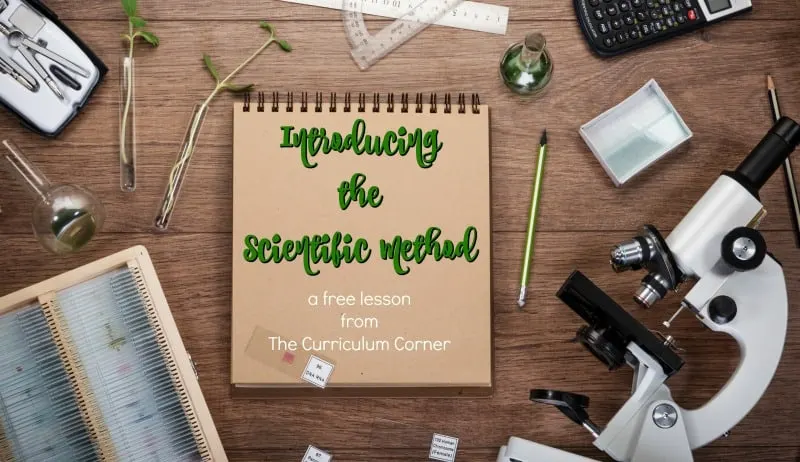
As a part of our partnership with Variquest, we created a lesson and anchor chart for introducing students to the scientific method. We are sharing this lesson along with the free printable materials below.

Here’s the Lesson:
(You will find the free materials to download at the bottom of this post.)
Preparation:
-
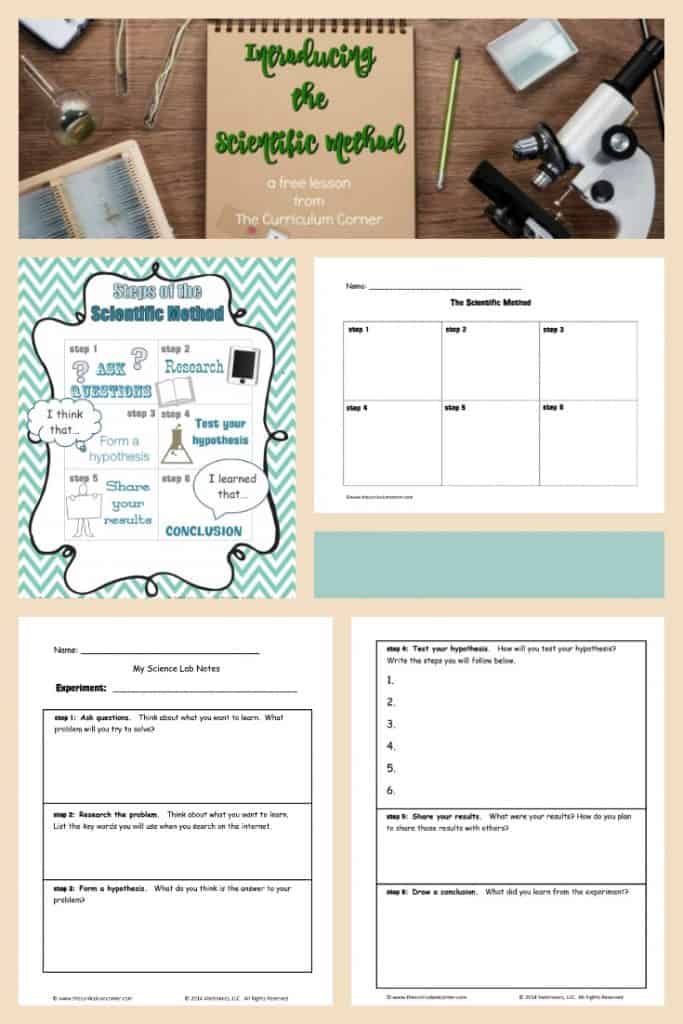
Prepare “Steps of the Scientific Method” anchor chart for mini-lesson.
-
Copy the “My Science Lab Notes” page for each child in the classroom.
Lesson:
-
Pass out “My Science Lab Notes” to each student.
-
Prepare your Smartboard with a copy of “My Science Lab Notes” so students have a model to work from.
-
Pass around the five pennies and ask students to make some observations about them (round, hard, have writing, flat, dirty, etc).
-
Next ask the students if they see a problem with the pennies. Help lead them to the conclusion that they are very dirty and difficult to read.
-
QUESTION – Tell the students that the Scientific Method begins with a question to be answered. What kinds of questions could they come up with about these pennies? Discuss several of the questions, but help lead them to the question, “What is the best way to clean a penny?” or something similar. Fill out the Ask Questions section of “My Science Lab Notes” together.
-
RESEARCH – Since many primary students are still in the beginning stages of learning to research, at this point ask the class what key words /phrases they can think of to search the internet to find an answer to the question. Fill out the Research the Problem section of “My Science Lab Notes” together and then do some simple research online.
-
FORM A HYPOTHESIS – Ask the class if they have ever heard the word “hypothesis” and discuss answers (if any). If not volunteered by a student, tell them that a hypothesis is a scientific word for a best guess. Help them to form a hypothesis similar to “We think that _____________ will clean the penny best because ________________.” Fill out the Form a Hypothesis section of “My Science Lab Notes” together.
-
TEST YOUR HYPOTHESIS – Show and discuss the liquids you have set up to clean the pennies. Guide them through the steps the class will take to test the hypothesis/clean the pennies. Fill out the Test Your Hypothesis section of “My Science Lab Notes” together.
-
SHARE YOUR RESULTS – After completing the testing portion of the experiment fill out the Share Your Results section of “My Science Lab Notes” together. Discuss how in this case your results will simply be shared on the notes page in a sentence format, but that there are other ways to share results too – making a visual or display, making a presentation or writing a paper.
-
CONCLUSION – As a class practice writing a conclusion based on the research done and the actual experiment involved. Fill out the Draw a Conclusion section of “My Science Lab Notes” together.
You can download the free resources we have created here:
Anchor Chart Print on your poster maker for a great classroom decoration that is meaningful!
Recording Page This organizer is designed to be used with any science lab.
Quick Check Page This organizer contains six boxes for students to share their understanding of the six steps. It could also be used for students to take notes on and then add to their science notebooks.
You might also be interested in our Writing Like a Scientist Unit of Study
You will find more resources on VariQuest’s Blog.